


Unlock Your Acura RSX’s Potential: A Comprehensive Guide to Installing an Adjustable Fuel Pressure Regulator
Why Upgrade Your Acura RSX?
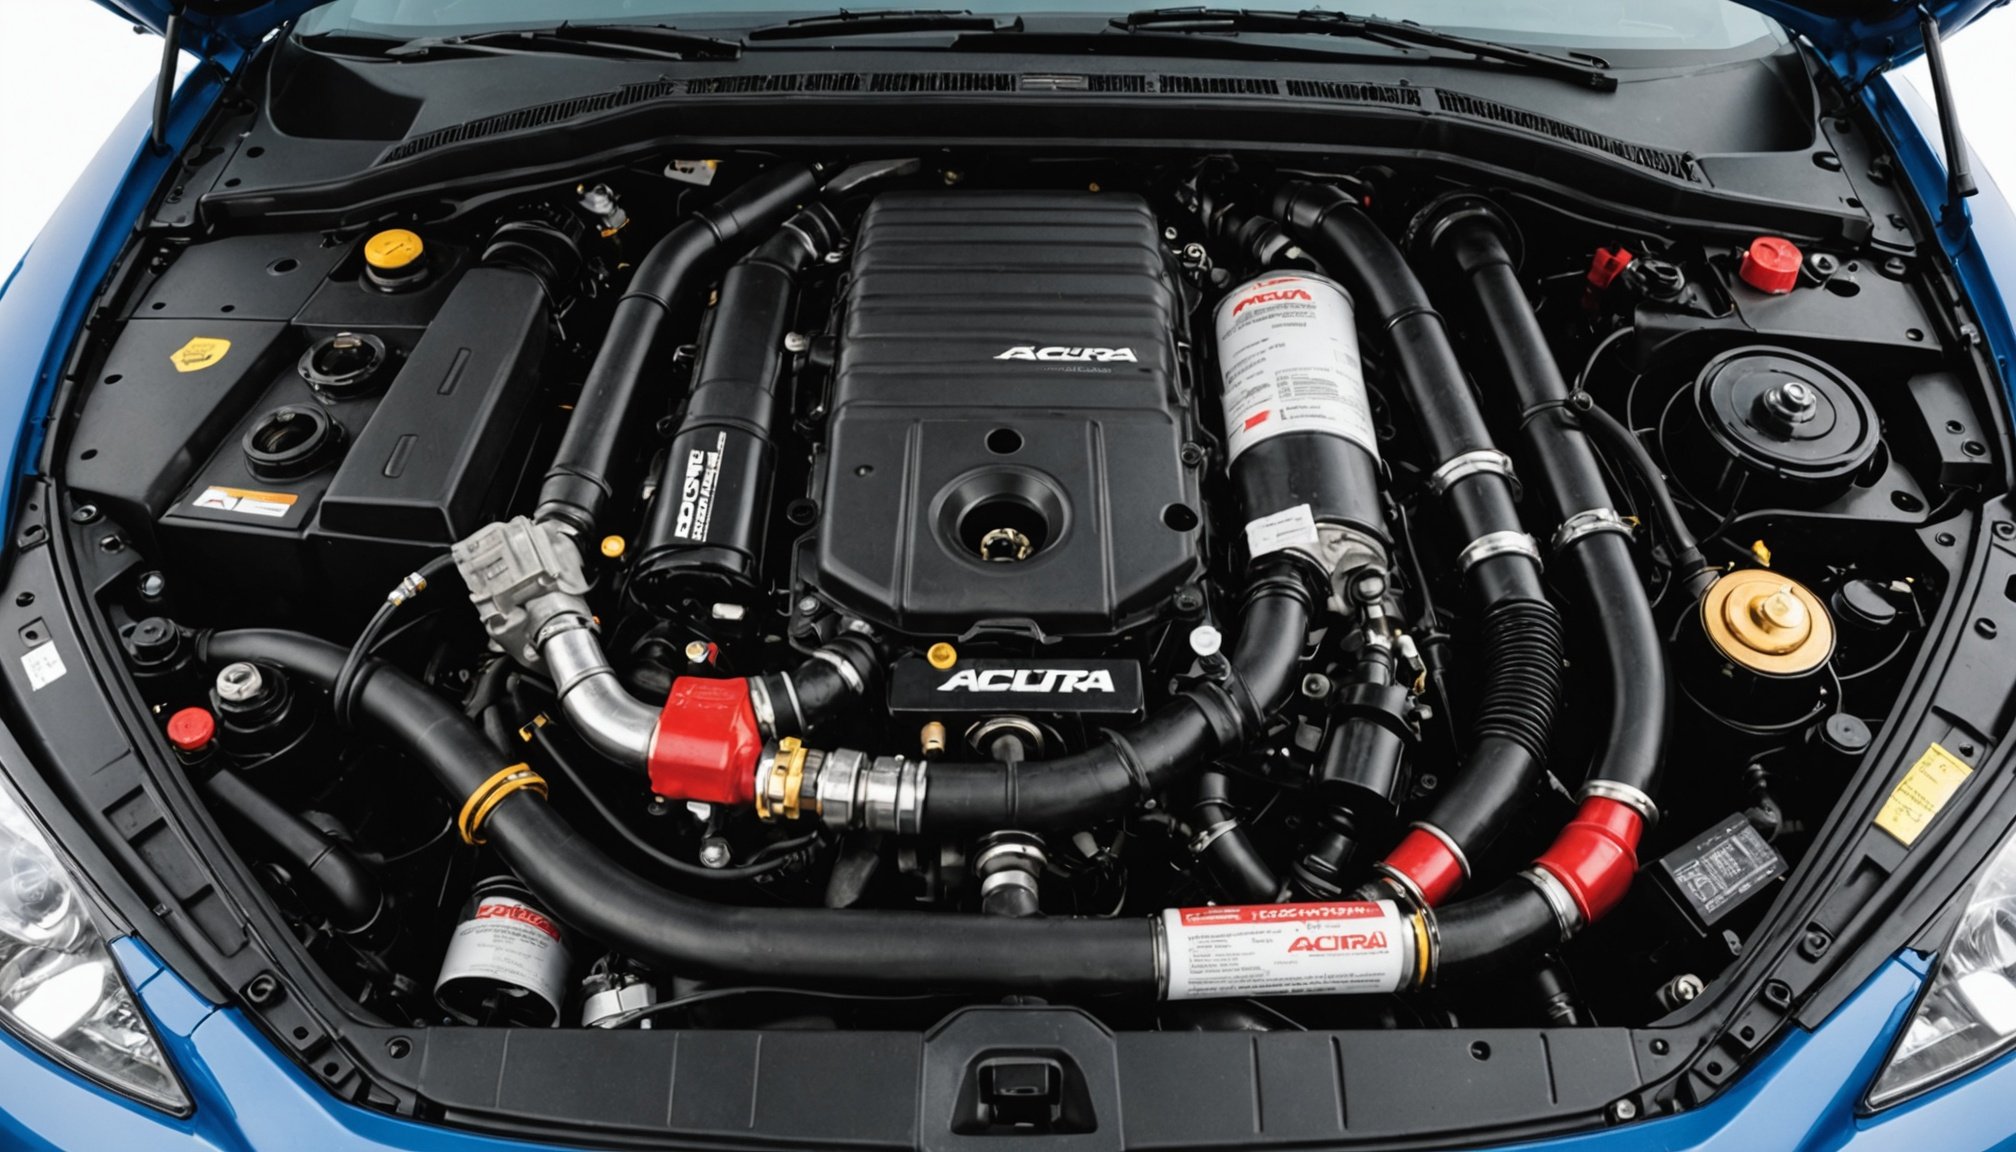
If you’re an enthusiast who owns an Acura RSX, you’re likely no stranger to the thrill of tweaking your car to squeeze out every last bit of performance. The RSX, with its robust K-series engine, is a favorite among tuners for its potential to deliver exceptional power and handling. One of the most effective ways to unlock this potential is by installing an adjustable fuel pressure regulator. Here’s why this upgrade is a game-changer.
The Role of Fuel Pressure in Engine Performance
Fuel pressure is crucial for the optimal functioning of your engine. It ensures that the fuel is delivered to the engine’s cylinders at the right pressure, which is essential for efficient combustion. An adjustable fuel pressure regulator gives you the control to fine-tune this pressure, allowing you to optimize your engine’s performance under various conditions.
Also to discover : Ultimate guide to choosing high-mileage engine oil for your volkswagen passat: unlock top performance!
Choosing the Right Adjustable Fuel Pressure Regulator
When it comes to selecting an adjustable fuel pressure regulator for your Acura RSX, there are several factors to consider. Here are some key points to help you make the best choice:
Compatibility
Ensure the regulator is compatible with your RSX’s engine. For K-series engines, look for regulators specifically designed for these models. Websites like RSXstore.com offer a wide selection of RSX parts, including fuel pressure regulators, to help you find the right fit[4].
Also to read : Boost your porsche cayman’s cooling power: upgrade to a high-performance radiator for optimal efficiency!
Adjustability Range
Opt for a regulator that offers a wide range of adjustability. This will allow you to fine-tune the fuel pressure to match different driving conditions, whether you’re cruising on the highway or pushing your car to its limits on the track.
Build Quality and Materials
The regulator should be made from high-quality materials that can withstand the pressures and temperatures involved. Look for regulators made from stainless steel or other durable materials.
Brand Reputation
Choose a brand known for its reliability and performance in the tuning community. Brands like AEM, Walbro, and Radium Engineering are highly regarded for their fuel pressure regulators.
Step-by-Step Installation Guide
Installing an adjustable fuel pressure regulator is a relatively straightforward process, but it does require some mechanical aptitude and attention to detail. Here’s a step-by-step guide to help you through the process:
Tools and Materials Needed
- Adjustable fuel pressure regulator
- Fuel pressure gauge
- Fuel line fittings and adapters
- Teflon tape
- Socket set
- Torque wrench
Step 1: Locate the Fuel Pressure Regulator
The original fuel pressure regulator is usually located on the fuel rail. You’ll need to identify it and understand its connections.
Step 2: Disconnect the Battery
Before starting any work on the fuel system, disconnect the battery to prevent any accidental engine starts.
Step 3: Remove the Intake Manifold
You may need to remove the intake manifold to access the fuel rail. This involves disconnecting the intake duct, throttle body, and any other components connected to the manifold.
Step 4: Disconnect the Fuel Lines
Carefully disconnect the fuel lines from the original regulator. Use a wrench to loosen any fittings, and then pull the lines off.
Step 5: Install the New Regulator
Mount the new adjustable fuel pressure regulator to the fuel rail. Ensure all connections are secure and use Teflon tape on the threads to prevent leaks.
Step 6: Reconnect the Fuel Lines
Reconnect the fuel lines to the new regulator, making sure they are securely attached.
Step 7: Reinstall the Intake Manifold
Put everything back together in the reverse order of how you disassembled it. Make sure all connections are tight and secure.
Step 8: Adjust the Fuel Pressure
Use a fuel pressure gauge to set the desired fuel pressure. Start with the manufacturer’s recommended setting and adjust as needed based on your engine’s performance.
Adjusting and Tuning Your Fuel Pressure
Adjusting the fuel pressure is where the real magic happens. Here are some tips to help you get the most out of your new regulator:
Understanding Fuel Pressure Settings
- Low Boost/Low Load: For everyday driving, a lower fuel pressure setting (around 40-45 PSI) is usually sufficient.
- High Boost/High Load: For high-performance driving or turbocharged engines, you may need to increase the fuel pressure (up to 60 PSI or more) to ensure adequate fuel delivery.
Monitoring Engine Performance
Use a data logger or a scan tool connected to your ECU to monitor engine performance. Look for signs of rich or lean mixtures and adjust the fuel pressure accordingly.
Fine-Tuning with a Pro ECU
If you have a pro ECU (like those from Hondata or AEM), you can fine-tune the fuel maps to match your adjusted fuel pressure settings. This ensures optimal engine performance and prevents any potential issues like engine knock or lean conditions.
Benefits of an Adjustable Fuel Pressure Regulator
Installing an adjustable fuel pressure regulator offers several benefits that can significantly enhance your car’s performance:
Improved Power Output
By optimizing fuel pressure, you can increase your engine’s power output. This is particularly noticeable in turbocharged engines where maintaining the right fuel pressure is critical for high-speed performance.
Better Engine Control
An adjustable regulator gives you the control to adjust fuel pressure based on different driving conditions, ensuring your engine runs smoothly and efficiently.
Enhanced Reliability
Proper fuel pressure helps prevent engine damage from running too rich or too lean. This enhances the overall reliability of your engine.
Real-World Examples and Anecdotes
The Honda Civic Type R Connection
Many tuners who work on Honda Civic Type R models also apply these principles to their Acura RSXs. For instance, a Civic Type R owner might use an adjustable fuel pressure regulator to optimize performance during track days, and the same principle applies to the RSX.
A Mazda Miata Comparison
While the Mazda Miata is a different car altogether, the concept of adjustable fuel pressure regulators is universal. A Miata owner looking to boost performance might follow similar steps, highlighting the versatility of this upgrade across different vehicle models.
Practical Insights and Actionable Advice
Consult the Community
Websites like Honda-Tech.com are invaluable resources for tuning advice. The community there often shares detailed posts and replies on various performance upgrades, including fuel pressure regulators[2].
Keep It Safe
Always follow proper safety protocols when working with fuel systems. Wear protective gear, ensure the area is well-ventilated, and avoid any open flames or sparks.
Document Your Progress
Keep a log of your adjustments and the corresponding performance changes. This will help you fine-tune your settings more effectively.
Comparative Table: Adjustable Fuel Pressure Regulators
Here is a comparative table of some popular adjustable fuel pressure regulators suitable for the Acura RSX:
| Brand | Model | Adjustability Range | Material | Compatibility | Price Range |
|---|---|---|---|---|---|
| AEM | 50-100 PSI | 50-100 PSI | Stainless Steel | Universal | $150-$300 |
| Walbro | 40-80 PSI | 40-80 PSI | Aluminum | K-Series Specific | $120-$250 |
| Radium | 30-90 PSI | 30-90 PSI | Stainless Steel | Universal | $180-$350 |
| Hondata | 40-100 PSI | 40-100 PSI | Aluminum | K-Series Specific | $150-$300 |
Detailed Bullet Point List: Pre-Installation Checklist
Before you start the installation, here are some key points to check:
- Ensure compatibility: Verify that the regulator is compatible with your RSX’s engine.
- Gather tools and materials: Make sure you have all the necessary tools and materials.
- Consult the manual: Read through the installation manual provided with the regulator.
- Disconnect the battery: Prevent any accidental engine starts.
- Clear workspace: Ensure your workspace is clean and well-lit.
- Protective gear: Wear protective gloves and safety glasses.
- Fuel system safety: Be cautious when working with fuel lines to avoid leaks or spills.
- ECU settings: If you have a pro ECU, ensure it is set to accommodate the new fuel pressure settings.
Installing an adjustable fuel pressure regulator is a significant step in unlocking your Acura RSX’s full performance potential. With the right tools, knowledge, and caution, you can achieve better power output, improved engine control, and enhanced reliability. Whether you’re a seasoned tuner or just starting out, this guide provides you with the comprehensive information you need to make the most of this performance upgrade.
As John Ly from Honda-Tech.com might say, “The key to optimal performance lies in the details. An adjustable fuel pressure regulator is one of those details that can make a world of difference in how your car performs.”[2]
So, take the leap, and watch your Acura RSX transform into a high-performance machine that delivers on every promise of power and precision.